

This tutorial was written by Livia @ Liv Luvs Scraps on March 26, 2009 and is my own creation. Any resemblance to another tutorial is a coincidence! DO NOT take anything from this site and claim it as your own, including my ideas. Anything you create from this tutorial is yours, as long as you don’t make any money out of it. Please remember to only use images/tubes that you hold a license to, or are free for personal use. (Check an artist’s TOU before using their work!)
Supplies you’ll need:
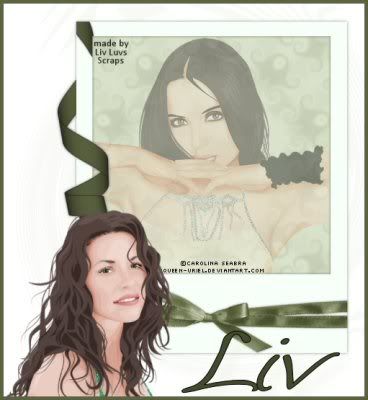
2 Tubes of choice – I’m using 2 tubes from the scrap kit I used for the first tag, and two from Carolina Seabra (aka Queen Uriel) for my second tag.
Scrap kit of choice – I’m using I ♥ Sleepovers by Scraps by CWD, which may be purchased from TKO Scraps
Font of choice – I used Angelina, which can be found at dafont
REMEMBER…Save your work often!!!
I will be referring to specific elements from the kit I’ve used, so if you aren’t using the same kit, use the elements you like from your kit of choice. At the bottom of this page, I’ve included an example using one of my own kits, to see that you can make this tag with any kit of your choosing. :)
This tutorial assumes you have knowledge of Paint Shop Pro and its features.
Open up a 600x600 canvas – you can resize it later. Fill the canvas with white (for our background).
Open up the tubes you will be using, duplicate them and close the originals. Minimise them for now.
From your kit of choice, open up a frame you like – I chose the pink frame. If your kit doesn’t have a frame included, you can either make one yourself using a paper, or choose a frame that comes with PSP! :)
Now open up a paper of choice from your kit, duplicate it and close the original.
Go back to your tag canvas. With your magic wand, click inside the frame (where it’s empty), go to Selections/Modify/Expand, and make it either 2 or 3.
Add a new raster layer, and drag this below the frame layer. Go to your paper of choice, copy it, go back to the canvas, and paste into selection.
Now you can add a drop shadow of your choice to the frame.
Pick one of your tubes to go inside the frame. Copy it and paste it on top of the paper layer. Resize the tube so that it fits inside the frame. Lower the opacity of the tube to 40.
Open up another paper of choice from your scrap kit, preferably a mid-dark coloured paper, but you can do whatever you want! :) Duplicate it, and close the original.
With your selection tool, select a rectangle as big as your frame. Copy it.
Back to your canvas - click on your very bottom layer (which should be the white background). Paste your new paper as a new layer.
If you have Filters Unlimited 2.0: Go to Distortion Filters/Twister, and drag the arrow to 94.
It’s time to add your other tube! Copy it, and paste it on your canvas, making sure this layer is on top of all the others. Resize your tube as needed.
Now for your text – using your font of choice, at a size of your choosing (mine is at 90), type your text. Convert to Raster Layer. [I also italicised the font, and stretched it out a bit.]
Go to Eye Candy 3.1/Drop Shadow, and in the dropdown menu, click on Faint. Change the colour to a lighter colour of the text, or leave it as black...up to you!! And accept it! :)
Crop your canvas to a size you like. Add a new raster layer at the top, and fill it with the same colour as your text. (Don’t worry, it won’t stay like this for long! LOL)
Go to Selections/Modify/Contract, and set the number to 5. Delete the selection, then go to Selections/Invert. You will now have your border highlighted. Add a bevel of your choice.
Now all you have to do is add the copyright/licensing info, and your watermark!
Save it as a JPG...and you’re done!!!


No comments:
Post a Comment