
This tutorial was written by Livia @ Liv Luvs Scraps on April 19, 2009 and is my own creation. Any resemblance to another tutorial is a coincidence! DO NOT take anything from this site and claim it as your own, including my ideas. Anything you create from this tutorial is yours, as long as you don’t make any money out of it. Please remember to only use images/tubes that you hold a license to, or are free for personal use. (Check an artist’s TOU before using their work!)
Supplies you’ll need:
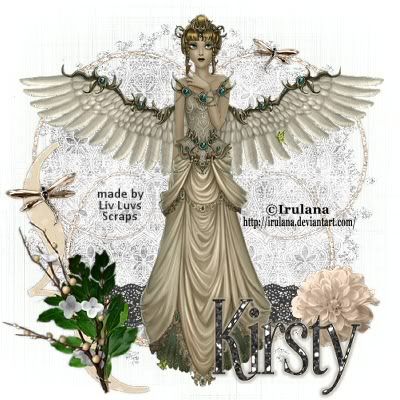
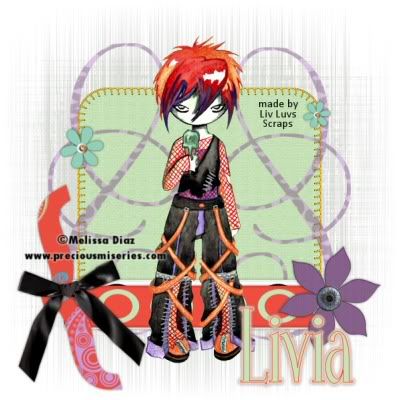
Tube of choice – I’m using “Green Angel” from Irulana for the first tag, and “Lil’ Punk” from Melissa Diaz for the second tag (at the bottom).
Scrap kit of choice – the kit I’m using is “Keepsake” by Kirsty’s Scraps, which is a free-to-use kit that can be found at Kirsty’s blog.
Font of choice – I used Echelon by Larabie fonts
REMEMBER…Save your work often!!!
I will be referring to specific elements from the kit I’ve used, so if you aren’t using the same kit, use the elements you like from your kit of choice. At the bottom of this page, I’ve included an example using one of my own kits, to see that you can make this tag with any kit of your choosing. :)
This tutorial assumes you have knowledge of Paint Shop Pro and its features.
Open up a 600x600 canvas – you can resize it later. Fill the canvas with white (for our background).
Open up the tube you will be using, duplicate it and close the original. Minimise it for now.
Open up, copy & paste the Keepsake-Matt on your canvas, duplicate it, hide original and work on copy.
Using DSB Flux – Bubbles – bubbles=21, density=50, frequency=50, tune=50
Now with DSB Flux – Blast - Percentage=49, Direction-Left
Repeat Blast 3 more times but change directions to right, then upwards & then downwards.
Change opacity to 50
Unhide original matt.
Maximise your tube. Copy & paste it onto your canvas, resize if needed, and move this layer to the top.
Open up Keepsake-Lace2 – paste, resize by 70%, move layer under tube, position towards the bottom of tube.
Keepsake-Bracket – Copy & paste it onto your canvas, resize by 70%, rotate to an angle you like, and move to left of lace. Drop shadow
Keepsake-Doodle1 – Copy & paste it onto your canvas, duplicate, mirror –move both layers under lace, add drop shadow
Keepsake-Flower5 – Copy & paste it onto your canvas, resize by 30%, move to right of lace, drop shadow
Keepsake-Dragonfly – Copy & paste it onto your canvas, resize by 30%, position where you like, drop shadow
Keepsake-Dragonfly - Copy & paste it onto your canvas, resize by 20%, position where you like, drop shadow
Open Keepsake-Glitter1
For your text/name- font=Echelon, size=120, foreground=dark colour from glitter, background=glitter
If you have EC5 Impact – Gradient Glow: Glow type=Outside Glow, Mask Selection=(yes), Glow Radius (pixels)=7.00, Soften Corners=35, Overall opacity=100, Distortion amount=30, Distortion lump size=100, Gradient- Smoothness=100, the colour should be a light colour from your tube
If you have Eye Candy 3.1 – Glow: Width (pixels) =7, Opacity=65 (or whatever you feel looks right), Opacity dropoff=medium, color= (a light one from your tube), draw everywhere=(no)
Add a drop shadow of choice.
Now all you have to do is add the copyright/licensing info, and your watermark!
Save it as a JPG...and you're done!!!


1 comment:
A wonderful tutorial..thank you!!
Post a Comment